Introduction to French Drains
Are you a homeowner in Jacksonville, Florida, dealing with persistent water pooling in your yard? If so, a French drain might be the perfect solution to your drainage woes. French drains are an effective way to redirect water away from your home, preventing damage and maintaining the integrity of your property. In this beginner-friendly guide, we'll walk you through the process of installing a French drain step-by-step.
Understanding the Basics of French Drains
A French drain is a trench filled with gravel or rock that contains a perforated pipe. It redirects surface water and groundwater away from a specific area. Perfect for Jacksonville's rainy climate, these drains can help protect your landscape and foundation by effectively managing water flow.
Why Choose a French Drain?
French drains are popular among homeowners because they are relatively simple to install and highly effective in preventing water-related damage. They are ideal for properties where water collects in low spots or against the foundation, which is a common issue in Jacksonville due to its flat terrain.
Materials and Tools Needed
- Perforated pipe (PVC or corrugated)
- Gravel
- Landscape fabric
- Shovel
- Level
- Wheelbarrow
- Gloves
- Measuring tape
- Safety goggles
Before you start, gather all necessary materials and tools. This ensures a smooth installation process without unnecessary interruptions.
Step-by-Step Installation Guide
Step 1: Plan the Drainage Path
Begin by identifying the areas in your yard where water tends to pool. Use flags or stakes to mark the proposed path of your French drain. Ensure that the drain will have a slight slope, typically about 1% (or 1 foot of drop per 100 feet of length) to facilitate water flow.
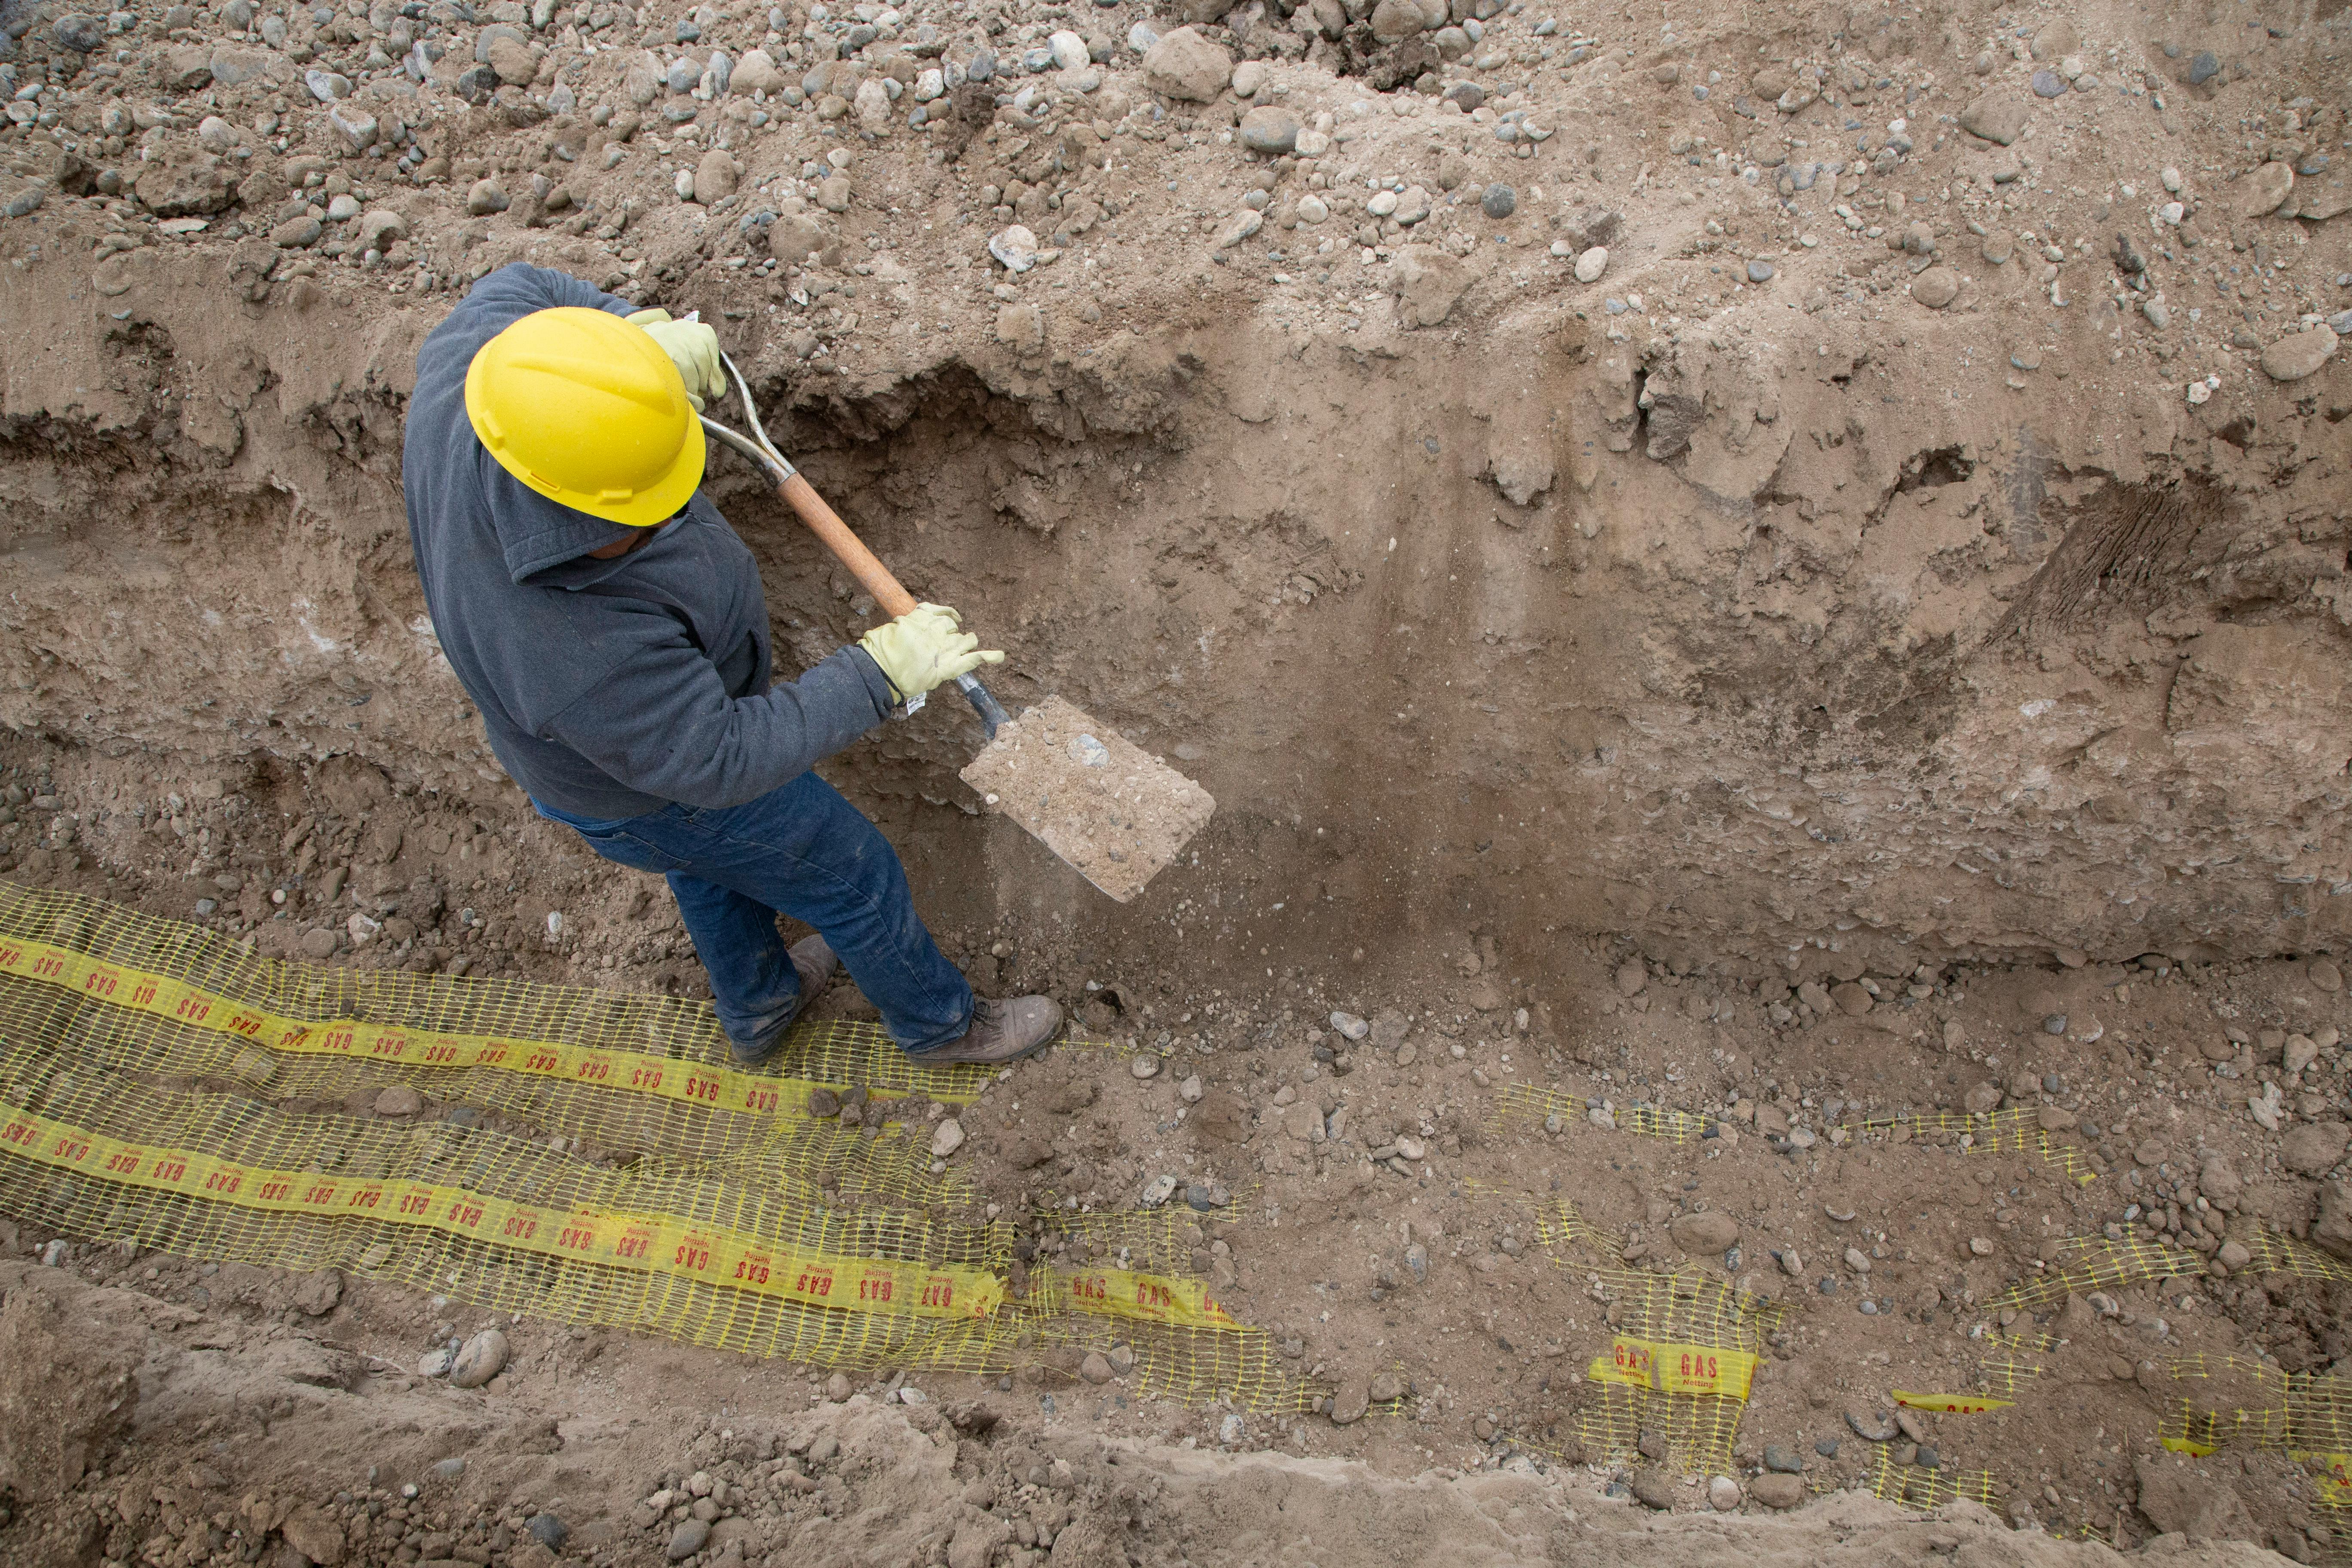
Step 2: Dig the Trench
With your path marked, it's time to dig the trench. The trench should be about 18-24 inches deep and 9-12 inches wide. Use a shovel to remove the soil, and place it in a wheelbarrow for easy disposal. Make sure to maintain the slope to ensure proper drainage.
Step 3: Add Gravel and Fabric
Line the trench with landscape fabric, leaving excess fabric on both sides. This will prevent soil from clogging the gravel. Add a layer of gravel about 3 inches deep. The gravel will help facilitate drainage and keep the pipe in place.
Step 4: Lay the Perforated Pipe
Place the perforated pipe on top of the gravel. Ensure that the perforations are facing downward to allow water to enter the pipe. Connect sections of the pipe using couplings, if necessary. Use a level to verify the slope of the pipe.
Step 5: Cover with Gravel and Fabric
Once the pipe is in place, cover it with another layer of gravel, filling the trench until it's about 2-3 inches below the surface. Fold the excess landscape fabric over the gravel to prevent soil from entering. This will extend the life of your French drain.
Step 6: Backfill the Trench
Finally, backfill the trench with the soil you initially removed. Compact the soil to ensure stability. You can also lay sod or plant grass seed to restore the area to its original appearance.
Maintenance Tips for Your French Drain
Regular maintenance is key to ensuring the longevity and effectiveness of your French drain. Periodically check for clogs or blockages, especially after heavy rains typical in Jacksonville. Clear any debris from the surface to maintain optimal water flow.
Conclusion
Installing a French drain is a practical solution for managing water problems in your Jacksonville yard. With this step-by-step guide, even beginners can tackle this project with confidence. If you encounter challenges or prefer professional assistance, French Drains Plus is here to help homeowners with comprehensive drainage and waterproofing solutions.
For more expert advice or to schedule a consultation, visit our website or contact us today. Protect your home from water damage with effective drainage solutions tailored to Jacksonville's unique climate.